Centos Linux 搭建 Redmine
一、环境版本
名称 | 版本 | 备注 |
|---|---|---|
Linux 服务器 |
|
|
| 8.0 | |
| 2.7.8 | 2.6版本及更早版本,不要用,建议至少2.7.2 |
| 3.0.4 | |
| 4.8.5 | |
| 开发包 |
关于Redmine版本与Ruby版本:
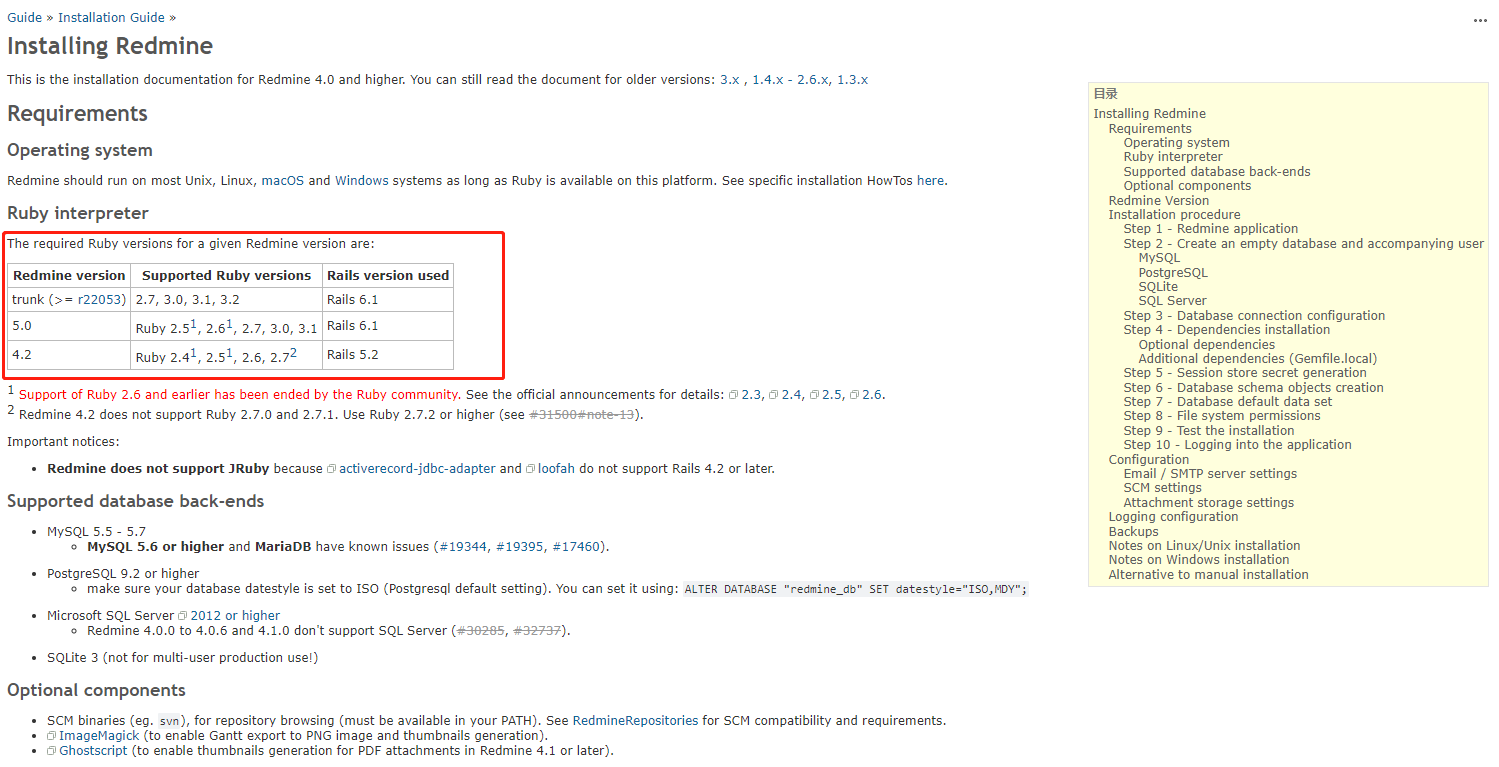
建议 redmine 使用5.0+版本,另外4.0版本不要用,因为 Gemfile 里的依赖有很多没有指定版本(坑);Ruby安装2.7.8的即可。
另外,上述都是环境依赖,至于项目依赖,则会在 rubygem 中结合着讲;
二、环境搭建
1. Linux 服务器版本查看
# 执行下列命令
cat /etc/centos-releas
# 或
cat /etc/system-release
我的centos版本是7.9;
2. GCC 检查
gcc -v我的服务器输出:
Using built-in specs.
COLLECT_GCC=gcc
COLLECT_LTO_WRAPPER=/usr/libexec/gcc/x86_64-redhat-linux/4.8.5/lto-wrapper
Target: x86_64-redhat-linux
Configured with: ../configure --prefix=/usr --mandir=/usr/share/man --infodir=/usr/share/info --with-bugurl=http://bugzilla.redhat.com/bugzilla --enable-bootstrap --enable-shared --enable-threads=posix --enable-checking=release --with-system-zlib --enable-__cxa_atexit --disable-libunwind-exceptions --enable-gnu-unique-object --enable-linker-build-id --with-linker-hash-style=gnu --enable-languages=c,c++,objc,obj-c++,java,fortran,ada,go,lto --enable-plugin --enable-initfini-array --disable-libgcj --with-isl=/builddir/build/BUILD/gcc-4.8.5-20150702/obj-x86_64-redhat-linux/isl-install --with-cloog=/builddir/build/BUILD/gcc-4.8.5-20150702/obj-x86_64-redhat-linux/cloog-install --enable-gnu-indirect-function --with-tune=generic --with-arch_32=x86-64 --build=x86_64-redhat-linux
Thread model: posix
gcc version 4.8.5 20150623 (Red Hat 4.8.5-44) (GCC)
如果没有,则需安装:(正常都会有,如果服务器这个没有,很有可能服务器缺的东西挺多)
yum install可选
# 下列可选,主要我是一开始就安装了它们,redmine也没有明确说需要它们
sudo yum install openssl-devel
sudo yum install zlib-devel
sudo yum install readline-devel
3. MySQL 安装
3.1. 安装 Mysql 的开发包
sudo yum install mysql-devel3.2. MySQL 8.0 安装
检测服务器是否安装过:
rpm -qa|grep mysql没有输出即为没有安装,出现版本号之类的信息,即标识已安装;
检查并卸载 mariadb:
# 检查
[root@VM-4-4-centos ~]# rpm -qa | grep mariadb
mariadb-5.5.68-1.el7.x86_64
mariadb-devel-5.5.68-1.el7.x86_64
mariadb-server-5.5.68-1.el7.x86_64
mariadb-libs-5.5.68-1.el7.x86_64
# 有的话全部卸载掉 :
[root@VM-4-4-centos ~]# yum -y remove mariadb-5.5.68-1.el7.x86_64
下载并安装 MySQL 源:
wget https://repo.mysql.com/mysql80-community-release-el7.rpm
yum -y install mysql80-community-release-el7.rpm
注: 5.7版本将80替换为57即可;
安装并启动:
# 安装
yum -y install mysql-community-server
# 启动
systemctl start mysqld.service
# 设置MySQL服务在系统启动时自动启动
systemctl enable mysqld.service
# 重构进程,让系统能够加载新的服务配置
systemctl daemon-reload
修改密码:
# 查询root账户的临时密码
[root@VM-4-4-centos ~]# grep "password" /var/log/mysqld.log
2023-09-20T08:37:01.377722Z 6 [Note] [MY-010454] [Server] A temporary password is generated for root@localhost: %48#f,OmtnuC

# 输入下面命令,会让输入密码,密码就是临时密码
[root@VM-4-4-centos ~]#  mysql -u root -p
Enter password:上面生成的临时密码
mysql>SET PASSWORD FOR 'root'@'localhost' = 'password';
# root可以远程连接
mysql>use mysql;
msyql>update user set user.Host='%' where user.User='root';
mysql>flush privileges;
mysql>quit;增加redmine 账户:
mysql> CREATE DATABASE redmine CHARACTER SET utf8mb4;
mysql> CREATE USER 'redmine'@'localhost' IDENTIFIED BY 'my_password';
# localhost表示此账户只能本地连接
mysql> GRANT ALL PRIVILEGES ON redmine.* TO 'redmine'@'localhost';
mysql> flush privileges;
mysql> quit;
4. Ruby 安装
# ruby下载安装
wget https://cache.ruby-lang.org/pub/ruby/2.7/ruby-2.7.8.tar.gz
tar xzvf ruby-2.7.8.tar.gz
cd ruby-2.7.8
./configure --prefix=/usr/local/ruby
# 下面这个命令若报错,即代表ruby安装不成功
make && make install
注: ruby 3.0版本之前的版本替换,,重复上述的步骤即可,3.0之后的盲猜借助rvm进行多版本管理;
# 修改环境变量(只要路径不变,版本替换后无需重复执行)
vim /etc/profile
export PATH=/usr/local/ruby/bin:$PATH
5. RubyGem 安装
# 下载安装包
wget https://rubygems.org/rubygems/rubygems-3.0.4.tgz
# 解压
tar xzvf rubygems-3.0.4.tgz
cd rubygems-3.0.4
# 安装(若Ruby版本发生替换,进此文件夹,再次执行下列命令)
ruby setup.rb
修改镜像:
# 查找默认源
gem sources
# 移除默认源
gem sources --remove https://rubygems.org/
# 添加新源
gem sources -a https://mirrors.aliyun.com/rubygems/
注: 若是腾讯云服务器,不要使用阿里镜像,需要装CA证书;
6. Gem 安装依赖
gem install rake
gem install bundle
gem install mysql2 -v '0.5.5'
7. 创建用户
redmine项目的初始化、启动等操作需要使用非root账户操作,故需创建用户;
但是还需给此用户授予管理员权限,否则会报错;
# 增加用户
[root@localhost ~]# useradd reduser
# 修改密码
[root@localhost ~]# passwd reduser
Changing password for user reduser.
New password:
Retype new password:
passwd: all authentication tokens updated successfully.
# 授予管理员权限
echo "reduser    ALL=(ALL)       ALL" >>/etc/sudoers
三、项目初始化及运行
1. 安装 redmine
不要使用4.0版本的项目,原因在于 Gemfile 里很多依赖没有指定版本;
# 下载项目包
wget http://www.redmine.org/releases/redmine-5.0.5.tar.gz
# 解压并移动
tar zxvf redmine-5.0.5.tar.gz
mv redmine-5.0.5 /hiccup/redmine
注: 本篇所有命令,若没有标明,都是使用root账户执行;
2. 修改 database 配置
# 进入项目根目录
cd /hiccup/redmine
# Copy config/database.yml.example to config/database.yml
cp config/database.yml.example config/database.yml
# 编辑配置
vim config/database.yml
Example for a MySQL database (default port):
production:
  adapter: mysql2
  database: redmine
  host: localhost
  username: root
  password: "my_password"
  # Use "utf8" instead of "utfmb4" for MySQL prior to 5.7.7
  encoding: utf8mb4
3. 项目依赖安装
注意要切换至非root用户执行
可以更换镜像:
bundle config mirror.https://rubygems.org https://mirrors.tuna.tsinghua.edu.cn/rubygems拉取依赖
# 上面的database有修改,需要重新执行此命令
bundle config set --local without 'development test'
bundle install
# 或
bundle install --without development test
# 镜像
https://mirrors.tuna.tsinghua.edu.cn/rubygems/

# 若有报错,提示没有写入的权限,直接将那个提示的目录使用root用户授予777权限,如:
chmod 777 /hiccup/redmine/config
4. 生成会话存储密钥
此步骤生成 Rails 使用的随机密钥,用于对存储会话数据的 cookies 进行编码,从而防止其被篡改。
bundle exec rake generate_secret_token5. 创建数据库模式对象
RAILS_ENV=production bundle exec rake db:migrate6. 数据库默认数据集
RAILS_ENV=production bundle exec rake redmine:load_default_data7. 启动及停止
# 启动 redmine,官方文档里缺少 -u
ruby bin/rails server -u webrick -e production -d
# 停止服务
ps -aux |grep ruby
kill -9 PID